Mix Media DIY Guide
Contains guides for:
Christmas Tree Mix Media Kit
Christmas Ornament Mix Media Kit
Plain Canvas Mix Media Kit
Christmas Tree Mix Media Kit
Step 1:
Scoop out the amount of medium you need (per colour) and mix it with acrylic paint. For every half cup of paste, you only need 1/3 tub of paint. You can add more paint (but no more than 1/2 tub per half cup) to make the colour stronger if needed. Make sure that the mixture is thoroughly mixed (you should not see any white paste in the mixture).
Do NOT mix multiple mixtures if you’re not ready to use them all together/quickly as the mixture will start to dry out when left out too long.
NOTE: Always keep a wet cloth with you for wiping down of your palette knife after every colour to keep it clean and smooth. Do not leave any paste on the knife sitting in the open for too long as it will start to harden and will be difficult to remove from the knife after it hardens.
A video guide on how to use your palette knife can be found at the bottom of this page.
Step 2:
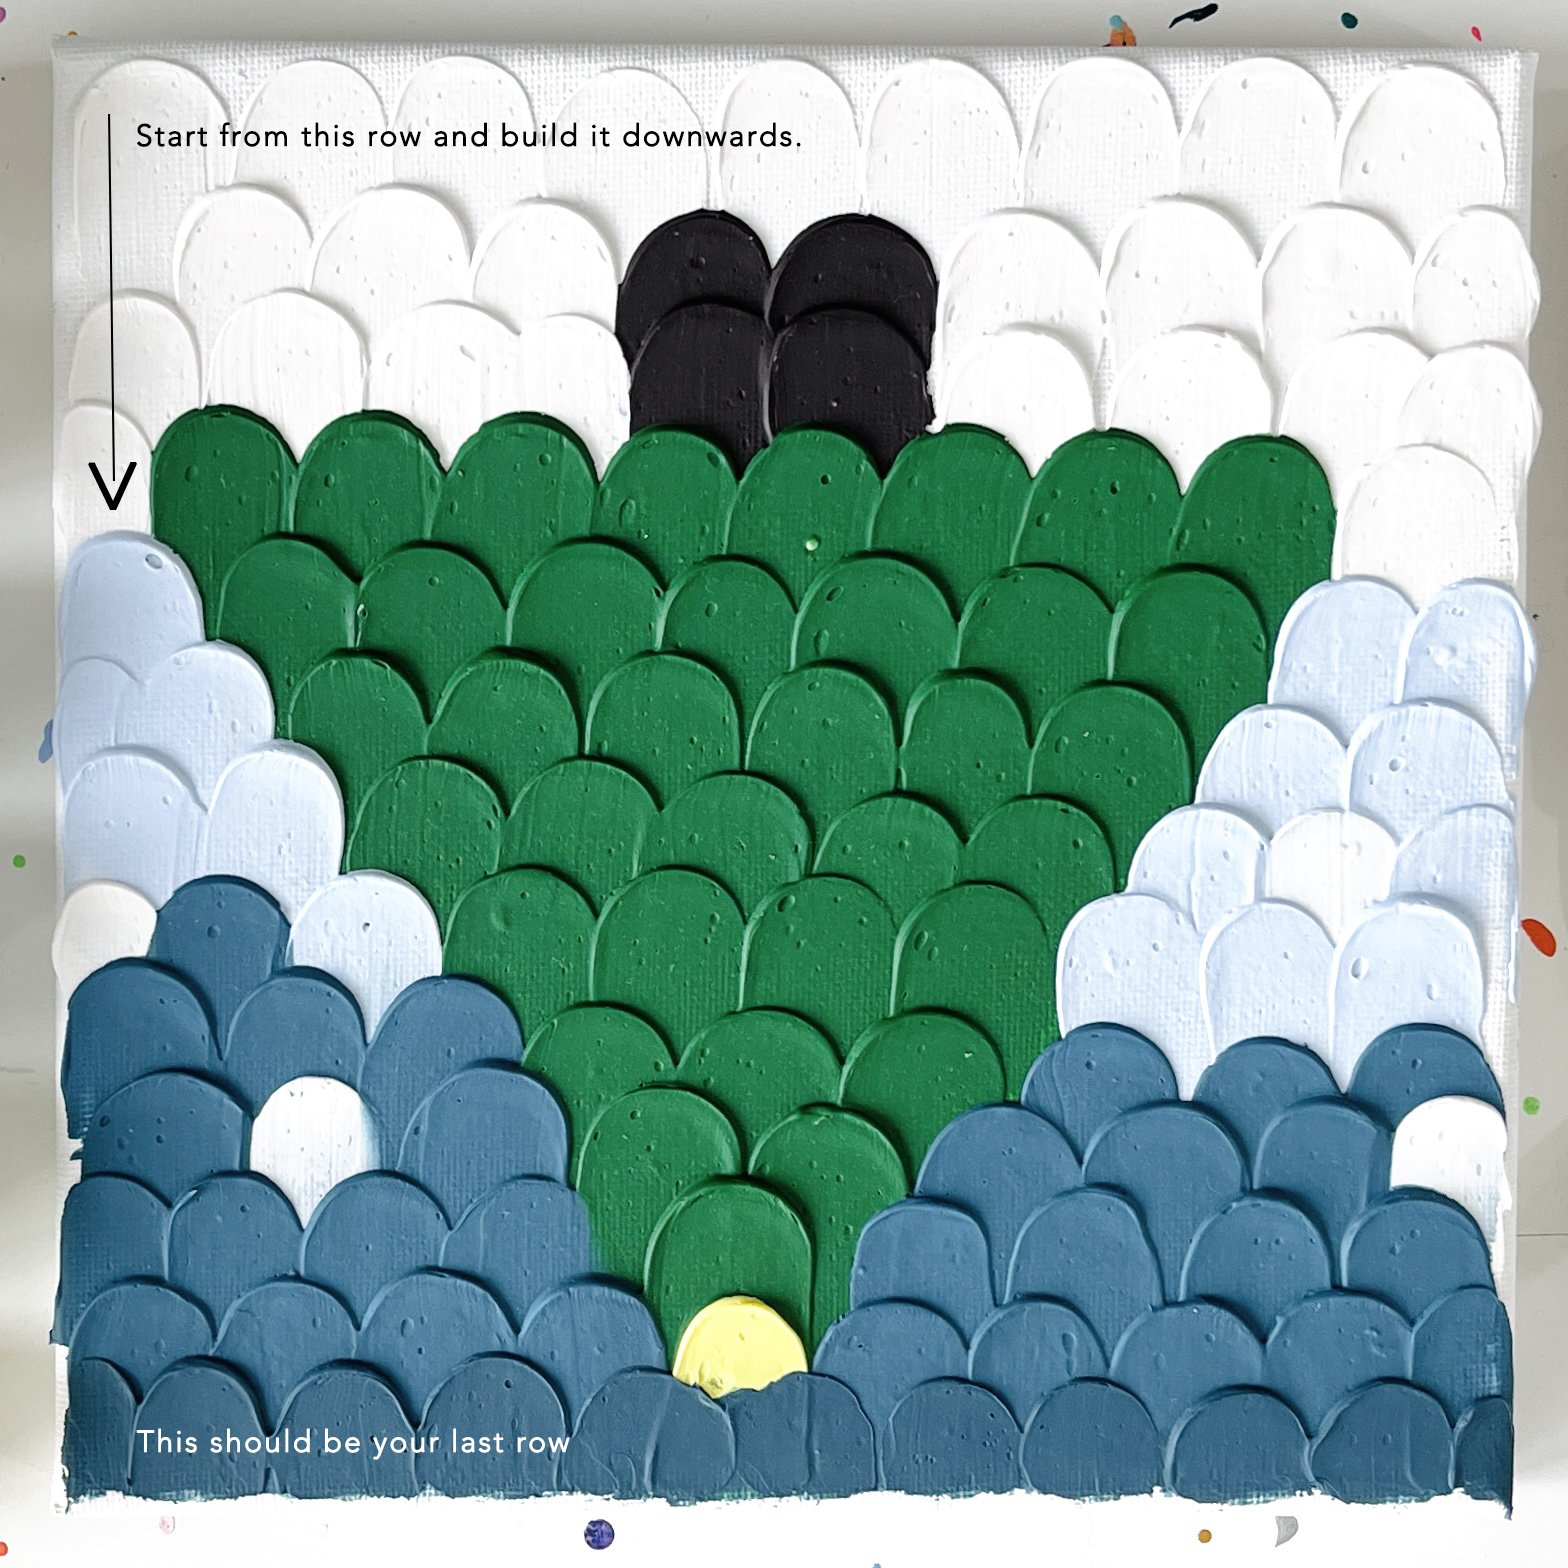
You will need to start the painting from the opposite direction (build from bottom up).
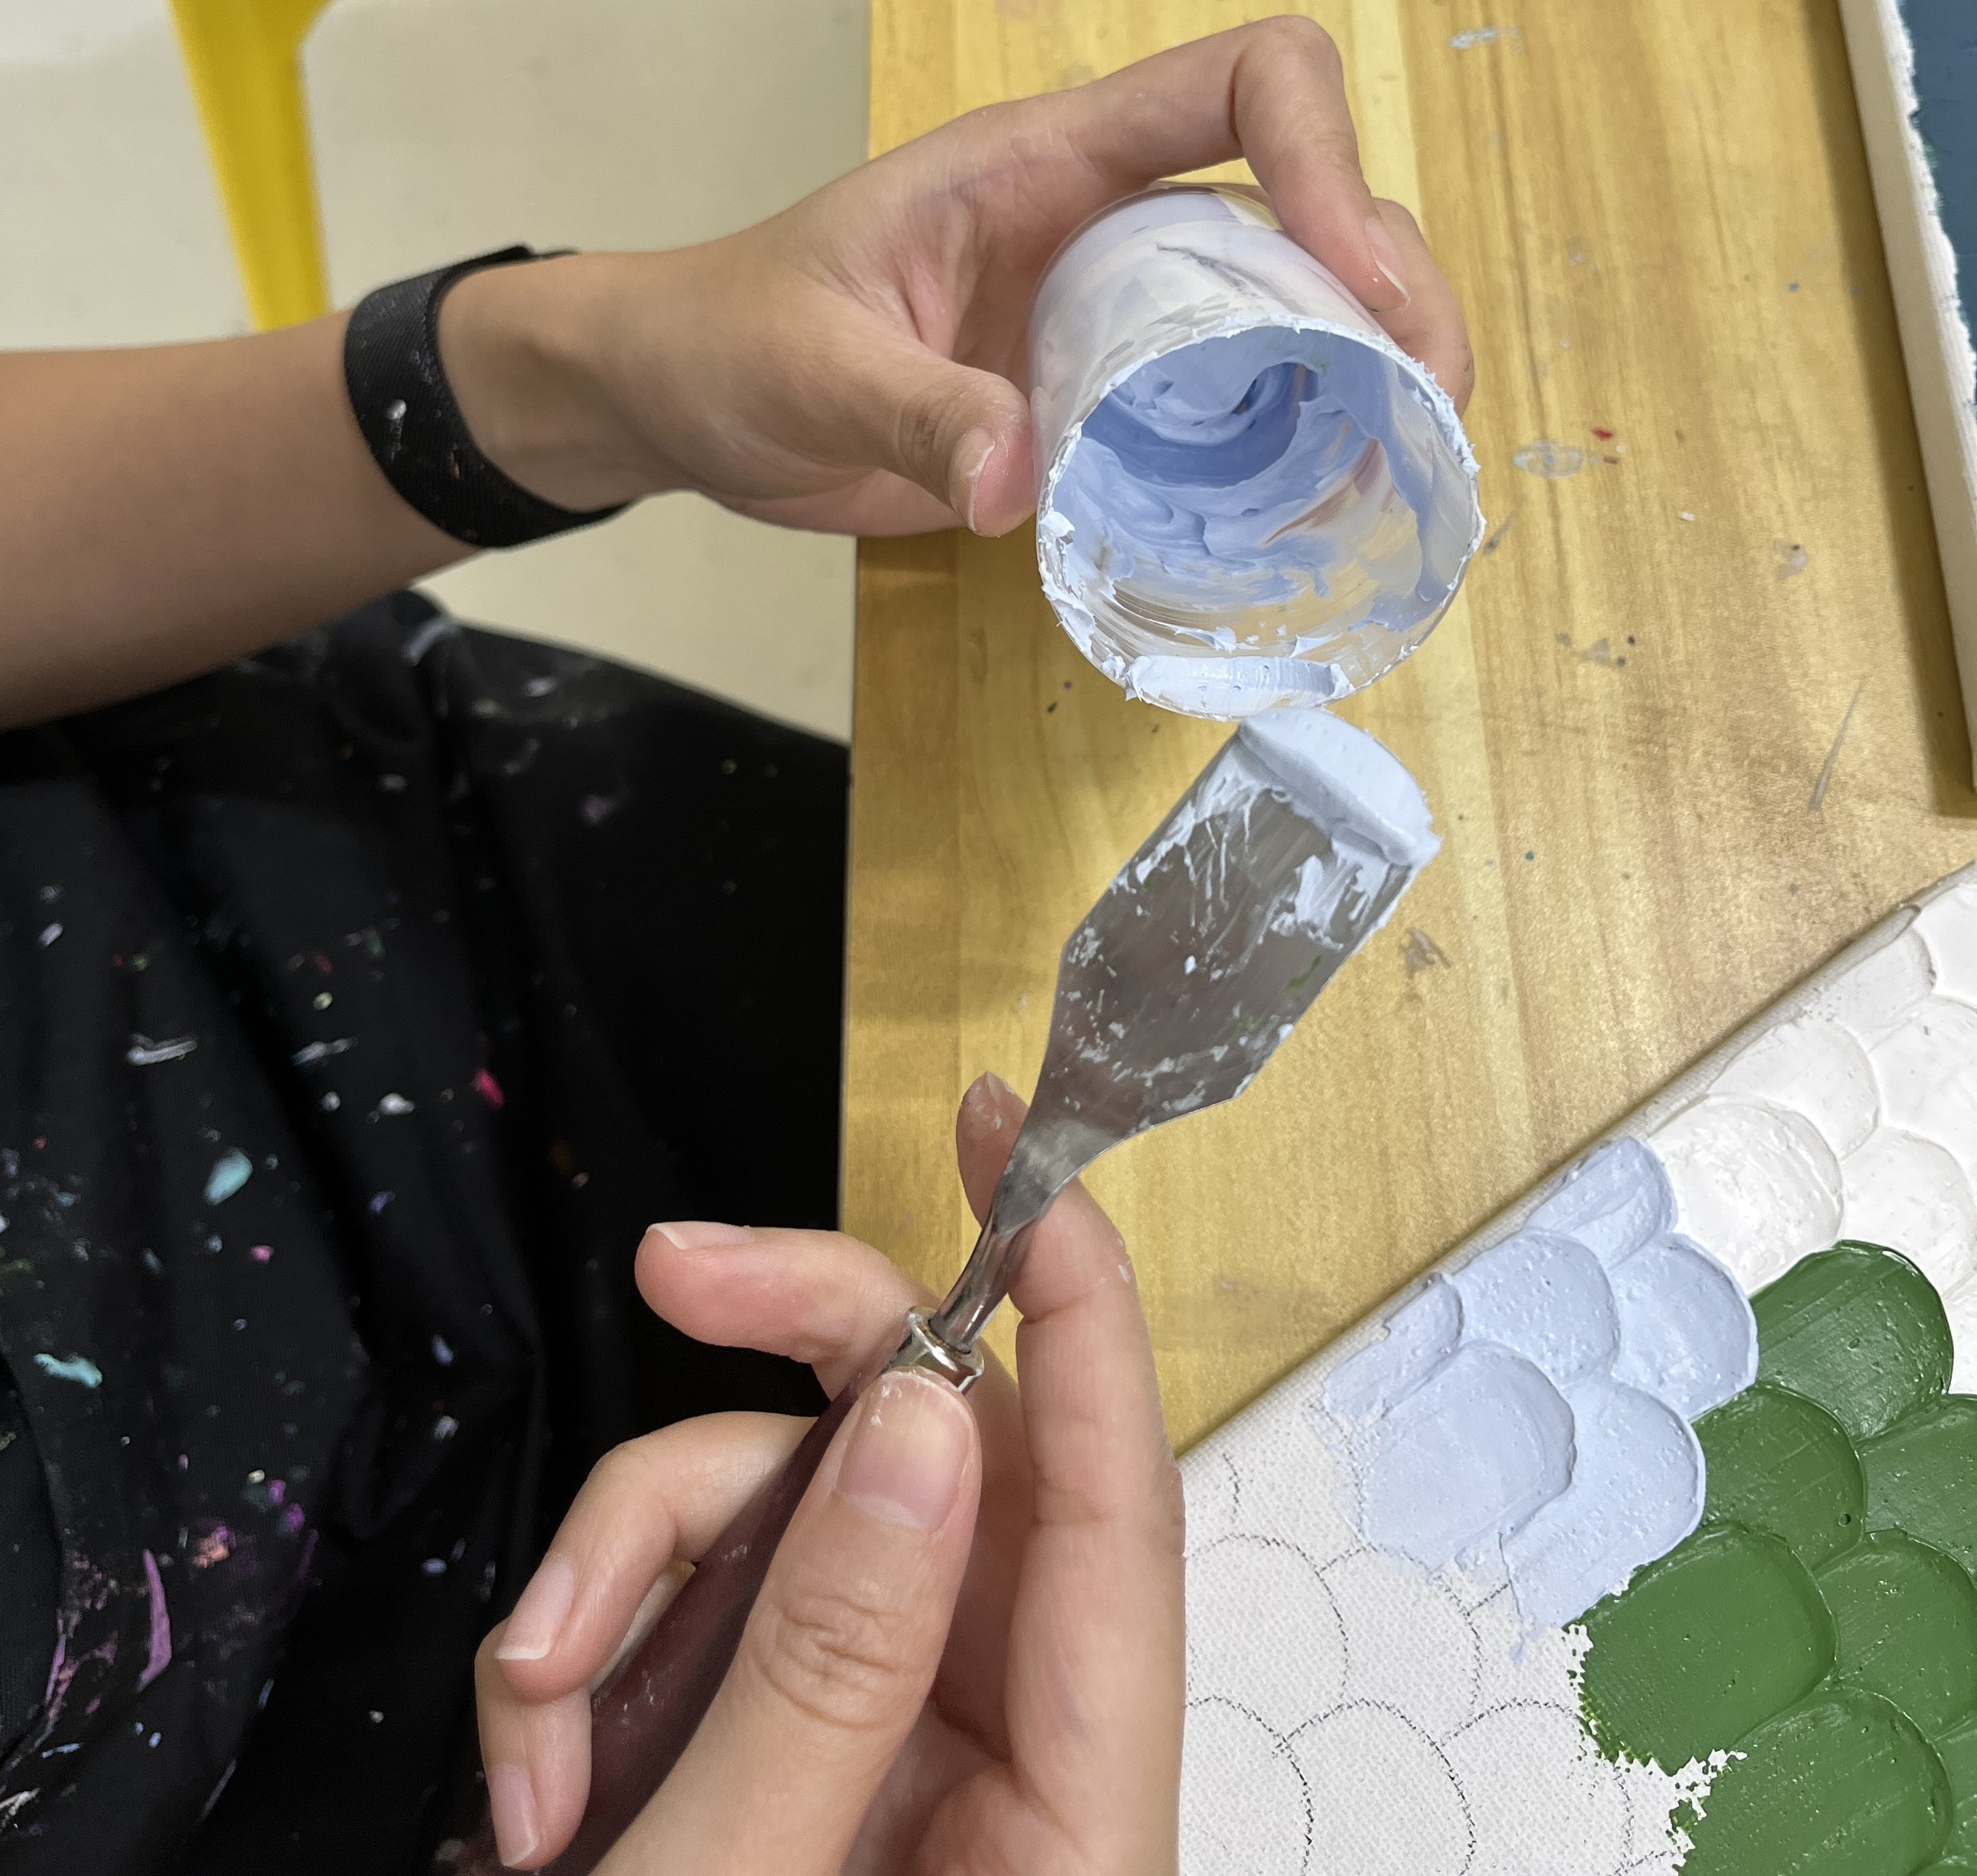
Scoop the coloured paste with the back of your palette knife. Make sure to clean off extra paste on all edges of the knife.
Angle your knife down to the canvas and gently press the paste down onto the canvas and pull. Do note to NOT press the knife too hard as this will spread your paste too thin and you will be able to see the canvas peeking through the canvas. Repeat the same steps for each scallop with the corresponding colour.
Need corrections made? The mixture can be scrapped off the canvas with the palette knives provided - but do note that by doing so, it will leave some paint residue behind. However, you can easily cover it with a new layer of mixture.
Step 3:
To dry your completed piece, leave on a metal cooling/drying rack and in a cool, well ventilated area for drying. It will take approximately 2 to 3 days for it to dry completely.
It will dry hard. You can check it by gently tapping the painting with your finger and if it’s still soft, leave it to dry further.
Plain Canvas / Christmas Ornament Mix Media Kit
Step 1:
Plan out the colours you would like to use for your textured art and the type of textured art you would like to do. Your piece can be a mixture of regular acrylic paint elements mixed with textured elements. It doesn’t have to be a full textured piece.
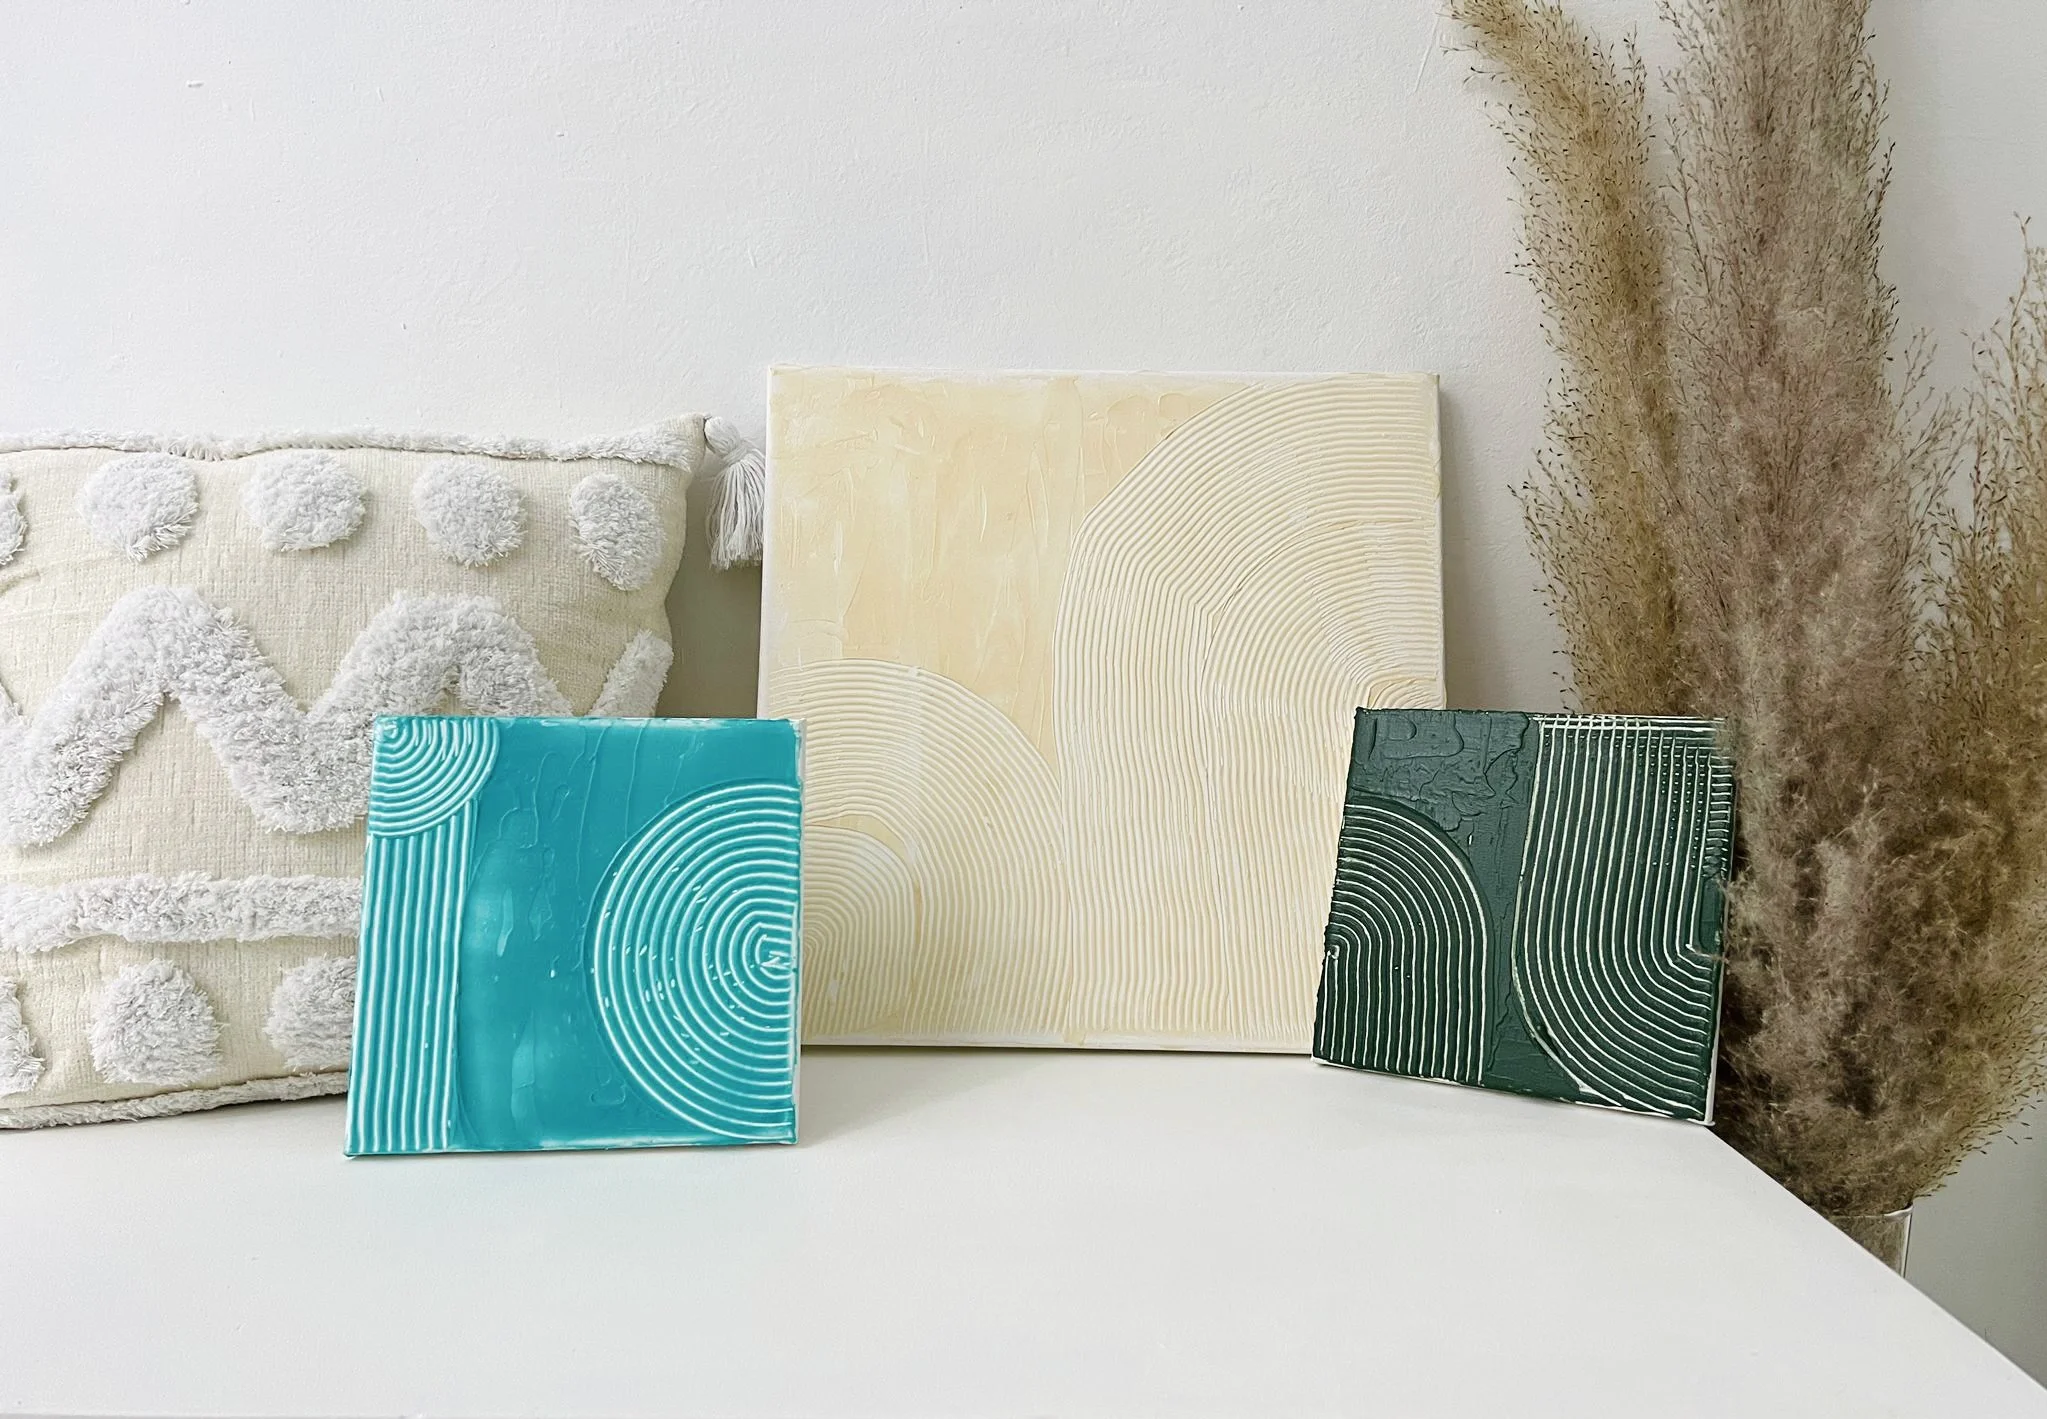
Below are some references you can take for your art piece.
NOTE: First image is only applicable for the Christmas Ornament kit
If you choose to paint a background on your canvas, this is the time to do so before you start prepping your medium. Alternatively, you can also paint a background with a medium-paint mixture to create a texture on your background - this step is essential if you want create a piece like the below.
Note that the medium will shrink about 30% in thickness/size and it will take about 1 week (depending on the thickness of the texture) for it to be fully dried.
You can create new colours by mixing the primary colours together. Not sure how what colours can be mixed?
Try this website: https://trycolors.com and it will show you the results of colours you choose to add to each other.
NOTE: Before you being mixing your medium, please prepare a small bucket of water and make sure to keep all of your tools wet when unused. For those using piping tips, please remove the tip from the bag before dunking them into the water. Keeping your tools wet will help ease the cleaning up process as the medium mixture will dry harden over time if left unclean for a period of time.
Step 2:
Scoop out the amount of medium you need (per colour) and mix it with acrylic paint. Make sure that the mixture is thoroughly mixed (you should not see any transparent medium in the mixture).
Do NOT mix multiple mixtures if you’re not ready to use them all together/quickly as the mixture will start to dry out when left out too long.
Medium to paint mixture ratio should always never exceed 2 squeezes of paint to 1 tablespoon of medium. The more paint you add, the wetter your mixture will be and controlling of the mixture for your painting would be more difficult.
There are a few techniques you can try doing if you decide to use palette knives for your piece.
Petal Shape
To create petals with your palette knife, scoop the coloured paste with the back of your palette knife. Make sure to clean off extra paste on all edges of the knife.
Angle your knife down to the canvas and gently press the paste down onto the canvas and pull. Do note to NOT press the knife too hard as this will spread your paste too thin and you will be able to see the canvas peeking through the canvas. Repeat the same steps for each petal.
Wave Shape
To create waves, scoop the coloured paste with the back of your palette knife. Make sure to clean off extra paste on all edges of the knife. Turn your knife to the side and gently press the paste down onto the canvas and pull. Do note to NOT press the knife too hard as this will spread your paste too thin and you will be able to see the canvas peeking through the canvas. Repeat the same steps for each wave.
A video guide on how to use your palette knife can be found at the bottom of this page.
Piping Technique/Christmas Ornament - You will need to have the piping set added on to your kit in order to do this.
If you own our Christmas Ornament Mix Media Kit or have the piping tips added on to your kit, you will need to make at least half a cup of medium mixture per colour. This is to ensure you have enough to provide the pressure for pressing out even for the smallest design.
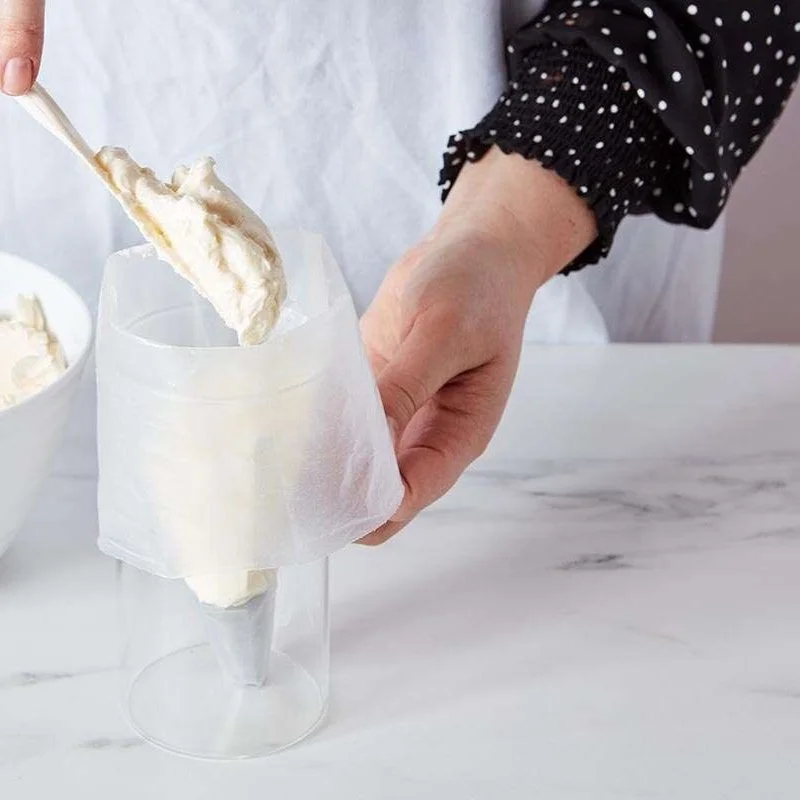
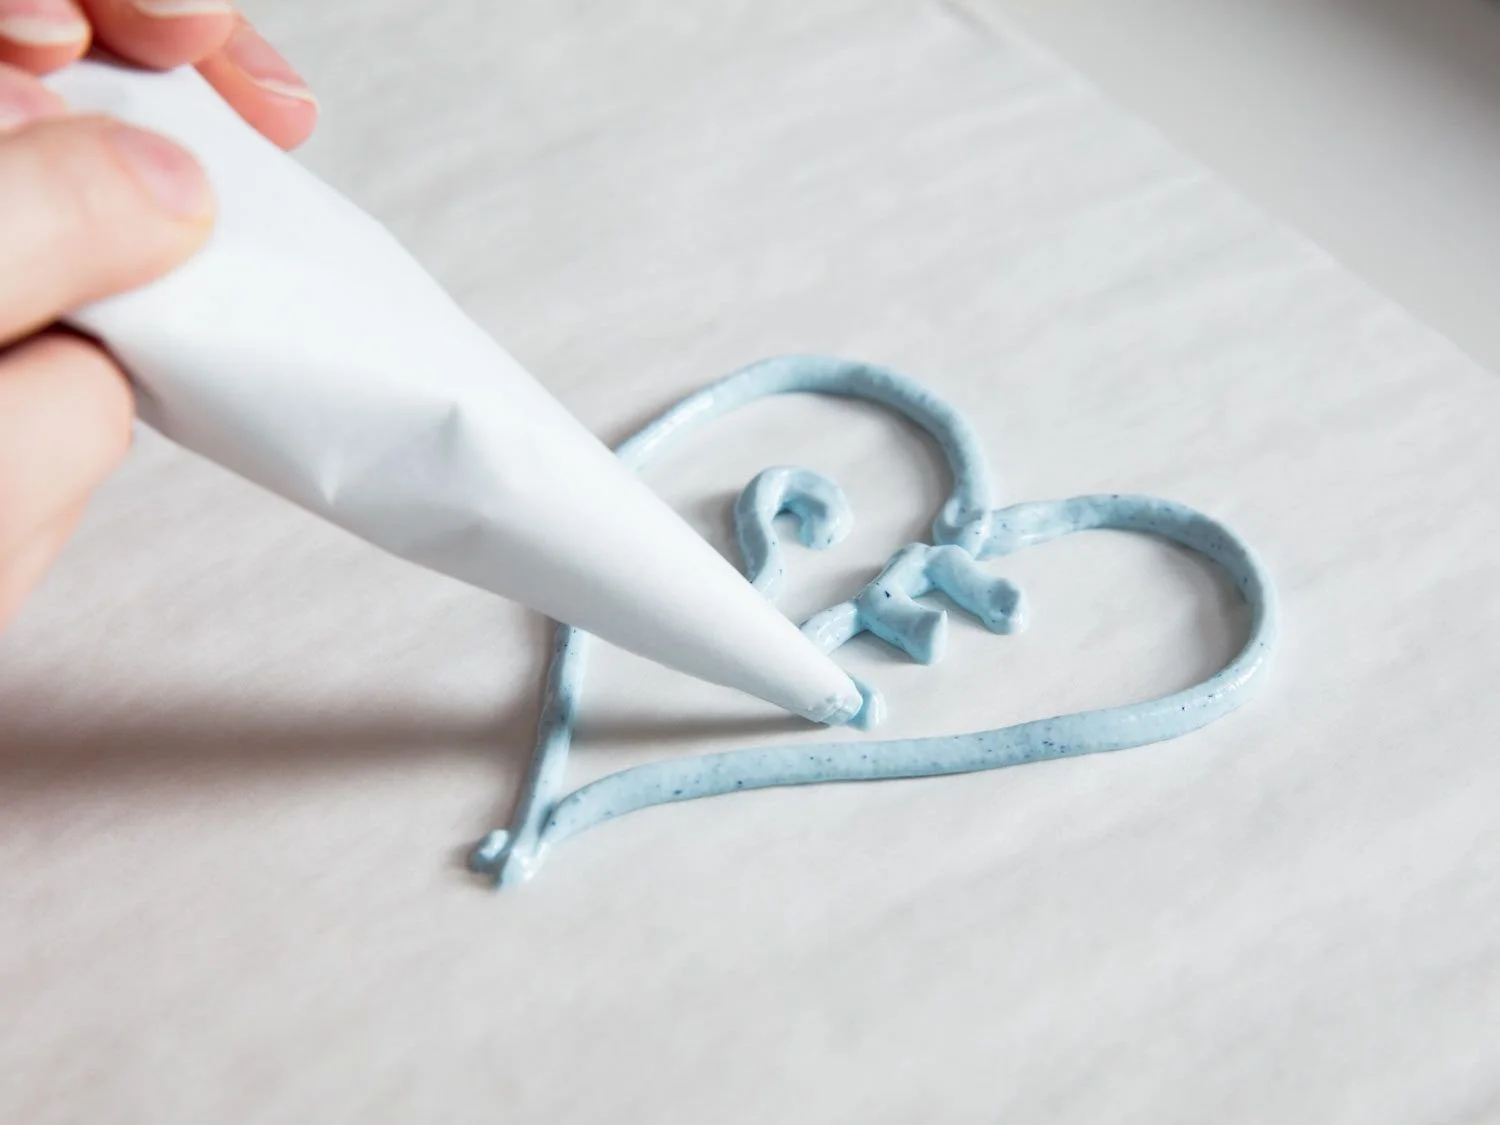
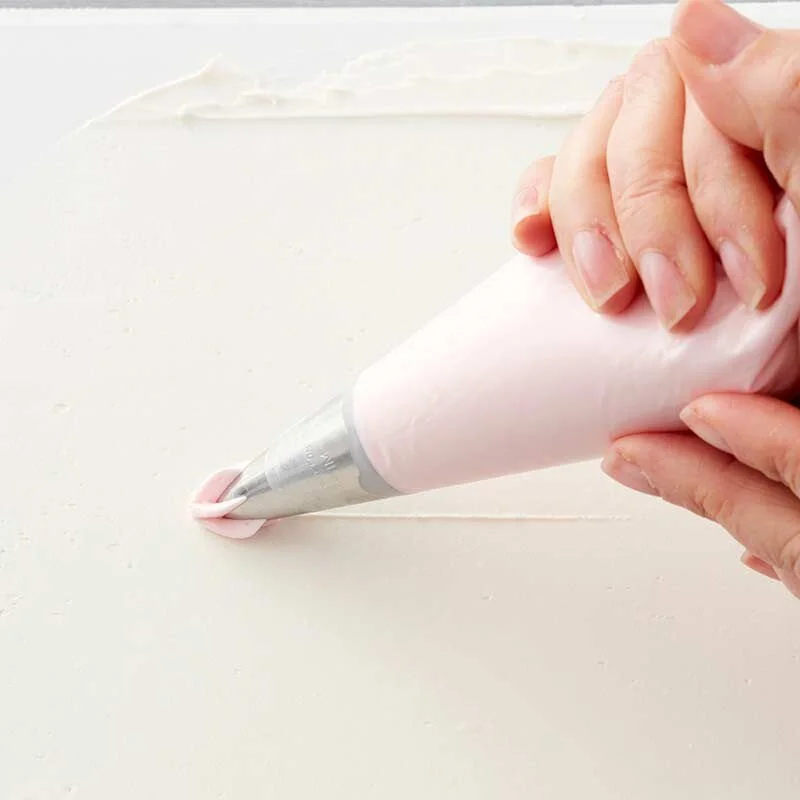
Once the mixture is ready, you have to bag them into the piping bag with the tips (or without - if you choose to cut the tip of the plastic for drawing of lines or dots. No tips are required for that) of your choice. You can use the palette knives provided in your kit to scoop out the mixture and into the bag. You can put the bag into an empty cup for better control when bagging.
To begin piping your design, wrap the bag around your hand and use the pressure of the fingers in the front to press the mixture out. Press until your desired size. Always make sure to have a gap between the canvas and your tip when piping. This is to give the mixture space to “grow”.
Kindly note that the piped design will shrink in size, hence keep your designs closely knitted unless on purpose. You continue to build/fix your design by doing a 2nd (or more) layer. The additional layers can only be done to art piece when the initial layer is dried completely (it can take a few days to be dried enough).
You can find a video guide on how to pipe designs on your ornaments/canvas below.
Step 3:
It is time to unleash your creativity and start working on your painting with your medium-paint mixture.
Need corrections made? The mixture can be scrapped off the canvas with the palette knives provided - but do note that by doing so, it will leave some paint residue behind. However, you can easily cover it with a new layer of mixture.
Should you need to layer more medium mixture on top on your artwork, do let the initial layer dry for a couple of days before adding new layers.
To dry your completed piece, leave on a metal cooling/drying rack and in a cool, well ventilated area for drying.
Remember that creating your own textured art takes time and practice so don’t feel down if you can’t get it right the first time. Alternatively you can sign up for our Textured Art Workshop and Unguided Sessions to help improve your skills.

